I am very fond of flower vases, particularly the glass and the ceramic types. When I happen to visit any showroom, or any office, the first thing that captures my mind is flower vases and their lovely floral arrangements. Even the artificial plants and the pots holding them, decorated with small pebbles and marbles will occupy my mind instantly. This always reminds me of making flower vases using plastic wires way back in eighties. But this one is very different from the above glass and the ceramic types, yet very unique and elegant in its own way. More importantly it is made from very simple and readily available materials and it can be completed within two hours.
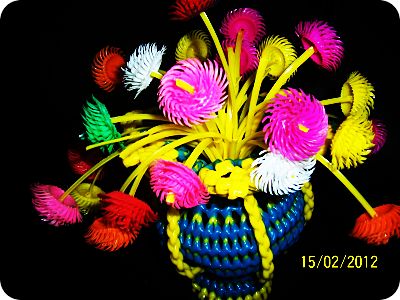
Below is the one such flower vase, I was talking about. If you are interested in giving it a try, you can scroll through the steps mentioned below to see how you can do it yourself.
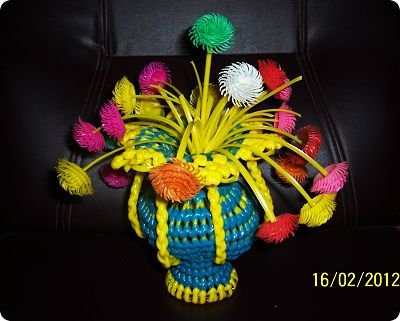
Flower Vase
Materials used:
1. Large bangle (plastic or metal)
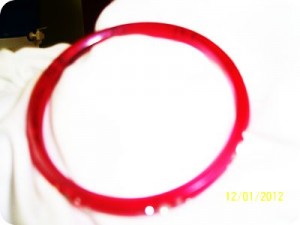
Plastic Bangle
2. Wire Bundles – 2 two different colors (Here I’ve used Yellow and Blue color)
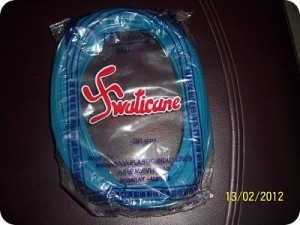
Plastic Wire
3. Plastic Flowers
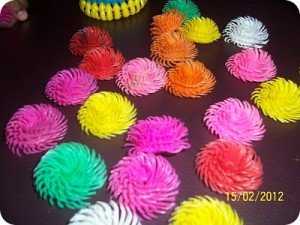
Plastic Flowers
Steps:
Before you start:Take the yellow wire bundle, measure and cut a length of 4ft wire. Like this cut 23 more wires of 4ft length. You need 24 wires i.e. multiples of 4. If you feel that your bangle can accommodate more than 24 wires, then you can cut 4 more.
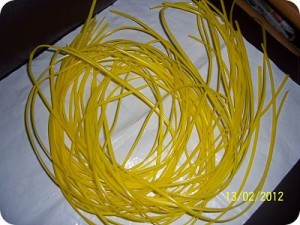
4ft wires
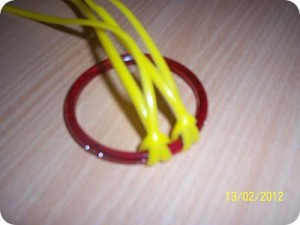
1. Fold one yellow wire in to half and insert the folded end to form a loop into the bangle like in the figure below.
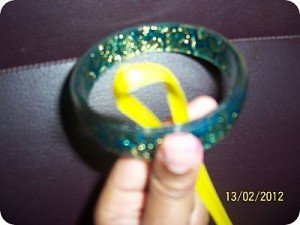
2. While holding the loop inside the bangle, take the loose ends over the bangle and insert into the loop and tighten it. This will form a knot around the bangle.
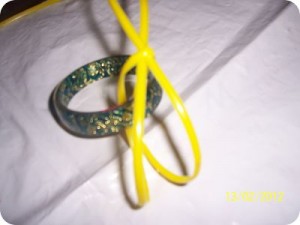
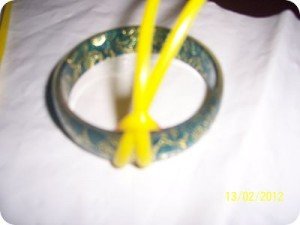
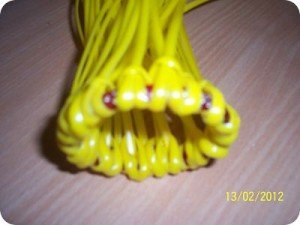
3. Repeat the same and add the remaining 23 wires by adding one by one to the bangle like below. Now there are 24 knots around the bangle. Each knot is having two wires of equal length. From now on I’ll call this as a knot-wire-pair.
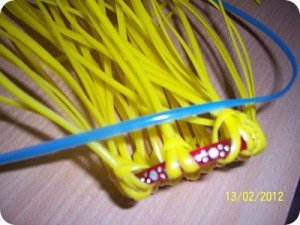
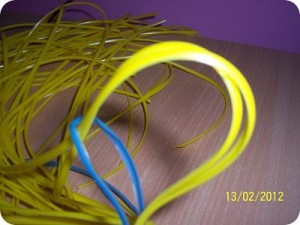
4. Now take the blue wire bundle and place one end of the wire on the bangle just above one knot. Now form a loop having the bundle side of the wire at your right side, the short end of the wire being on your left hand side. Also see the bundle wire is at the bottom of the loop and the short wire is on top of that loop. Then, take out the two wires forming one knot through the loop and tighten it. See the figure below.
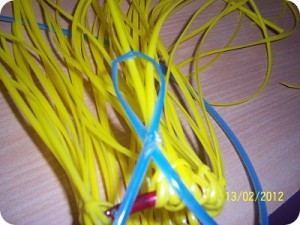
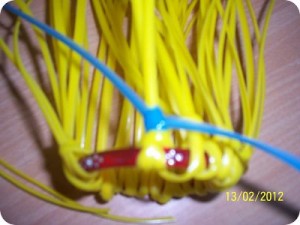
5. Again do the same thing from forming a loop, placing it on the same knot and taking out the two wires of the knot through the loop and tighten it. So, for each of the knot wire pairs, you to do this twice, then only it be like the one you see it below. Otherwise it wont be tight. From now on I’ll call this as a loop-knot.
6. Like this you have to do it for all other 23 pairs of knot wires following in clockwise direction.
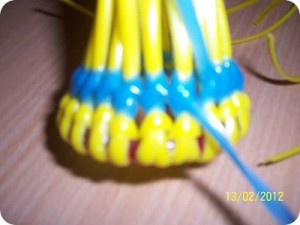
7. When you come to the point where you have started your first loop, pull the wire little above first loop-knot and do the same so that it will the beginning of the second line.

8. Now complete 4 lines by following the above steps.
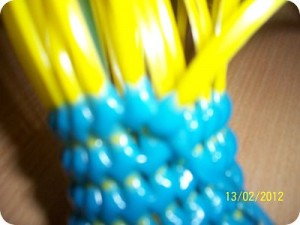
9. When you have finished the 4th line, instead of continuing to the 5th, separate knot-wire-pair into two and start doing the step 4 and step 5. When complete the 5th line, there will be 48 loop-knots(24×2) and also flower vase will to begin widen up.
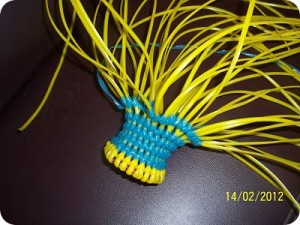
11. Complete 4 more lines. This will form the broad portion of the flower vase.
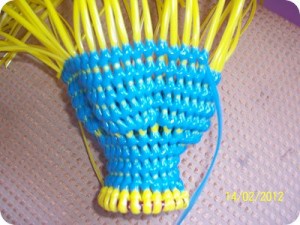
12. After completing 5th line, start the 6th line by combining separated two knot-wire-pairs into one and repeat the steps 4 & 5.
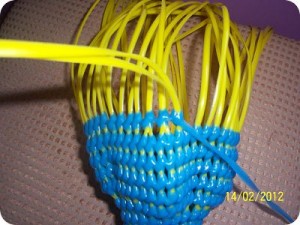
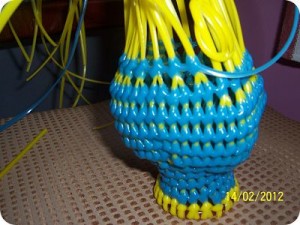
13. This will end the broader vase area and will begin to narrow down to form the neck of the vase.
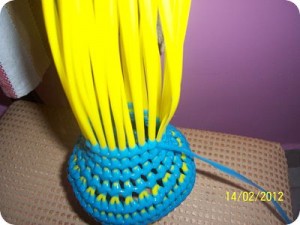
14. Now its about time to expand the knot-wire-pair into two again to form the broader mouth portion of the vase. Finish two lines by separating the combined knot-wire-pair into two.
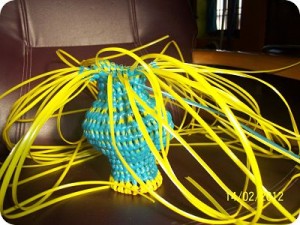
After completing the above step, now cut the bundle wire by leaving 15cm. Now you can tuck this cutout wire inside the vase and hide it as the work for it is done here. Now you will be having 48 wires hanging from the mouth of the vase.
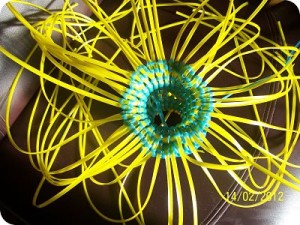
15. Divide the 48 wires into 6 groups each having 8 wires.
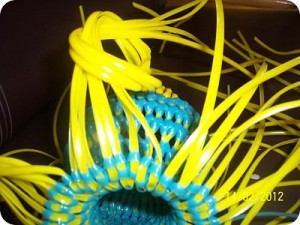
Basket Knots:
i) Take 2 wires at a time and make a knot as described below. This type of knot is used to make baskets. Make 2 loops one in each wire.
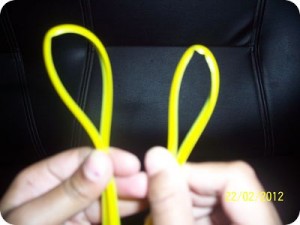
ii) Hold one loop in left hand and the other loop in the right hand.
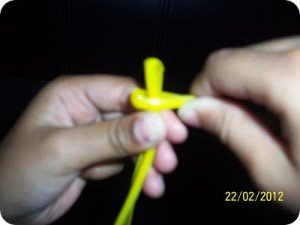
iii) Insert left hand loop into the right hand loop. Holding it tightly, take the back end wire of the left hand loop over the right hand loop.
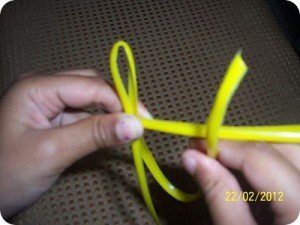
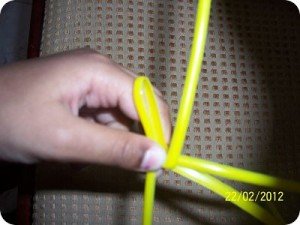
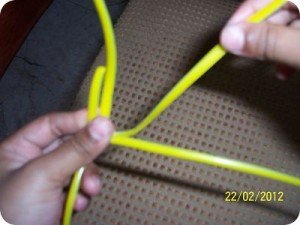
iv) Insert the back end of right hand loop in to the left hand loop by crossing over the back end of left hand wire. Tighten it.
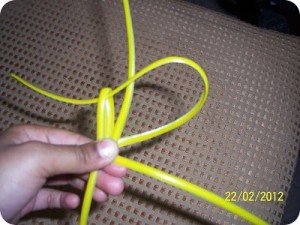
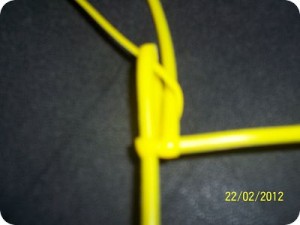
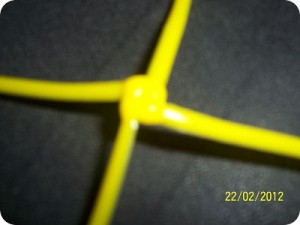
v) Now make three more knots in the remaining 6 wires. So in a group of 8 wires, you have to make 4 basket-knots.
vi) Now take another pair of wires and make another one of the above said basket-knot.
vii) Holding both the knots, horizontally, take one wire from one knot and the other from the second knot and again make a third knot.
viii) Following the above method make knots to form a triangle. i.e From eight wires, make 4 knots. Then above these four make three, then, two and finally one knot to finish the triangle.
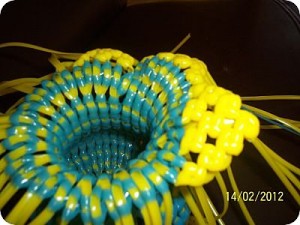
16. Complete all the 6 triangles. Bring the wires in 6 groups down to make a strand.
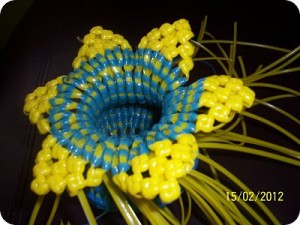
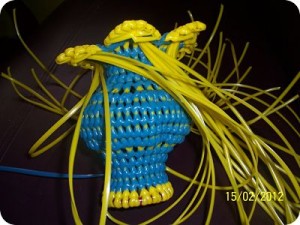
17. Try to make a plait by dividing the eight wires into 4 groups, each having 2 wires. This will look like a rope. You have to do the plait as you do it with hair, instead of three bunches, you are using four. After making 6 plaits, insert these into the vase at the bottom, and bring them up through the vase and tie it with a rubber band.
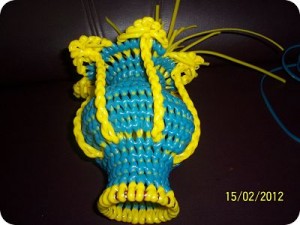
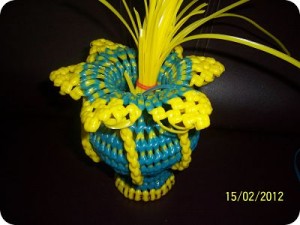
18. Spread the wires at the top evenly and insert plastic flowers at the tip of each wire. That’s it! We are done. Finished flower vase is shown below.


Beautiful….. I remember me doing this for on – the – spot W.Ex. Competion. But now I don’t have this model with me. i was really happy to see this after a long time. I had also made a Double layer flower vase like this. But now completely forgot how to make it. If yo know that Pls Share. Thankyou…
very happy to see this.brings back old memories. unfortunately technique is being forgotten .thanks for this demonstration. similar to this, we used to make flowers to arrange as in garland and also rings using this plastic wire. the rings were woven interlocked with one another to make a nice hanging for the doorway(on either side of the door). if you remember these techniques, please post them too.
another suggestion is …if you can upload video of these methods on you tube, will be easier for some to learn from that.
once again, a very nice job you are doing!thanks for good memories.
Hi Saritha,
Thanks for visiting my blog. I know how to make a garland using these wires and I can post the same without much difficulty. But the rings as you say, I had done it earlier and I need to recall the method. Anyhow I’ll try the later and post it within a month or two. I appreciate yr suggestion regarding video tutorial and I will surely try that.
Again thanks a lot for your kind and encouraging words!
hi Melinda, thank you for the instructions. And if you know how to do the biscuit knot basket and nellikkai knot basket, could you pl share it?
Thanks.
hi which wire to be used? & you know the technique of making grapes from wire?
Hi Priya,
No idea about the grapes made from wires… pls do share when u get more info on this…
Hi I need the instructions on how to make bead miniature furniture which we used to make in our childhood .And info where we can get the materials too please please please !!!!!!!!!!!!!!!!!!!
hi
thank you for your post. its very helpful.i was searching for it for many years. really really its super, and also your instructions are clear. thank u once again for your valid work
Hi Melinda thank you so much for sharing really its so helpful..